
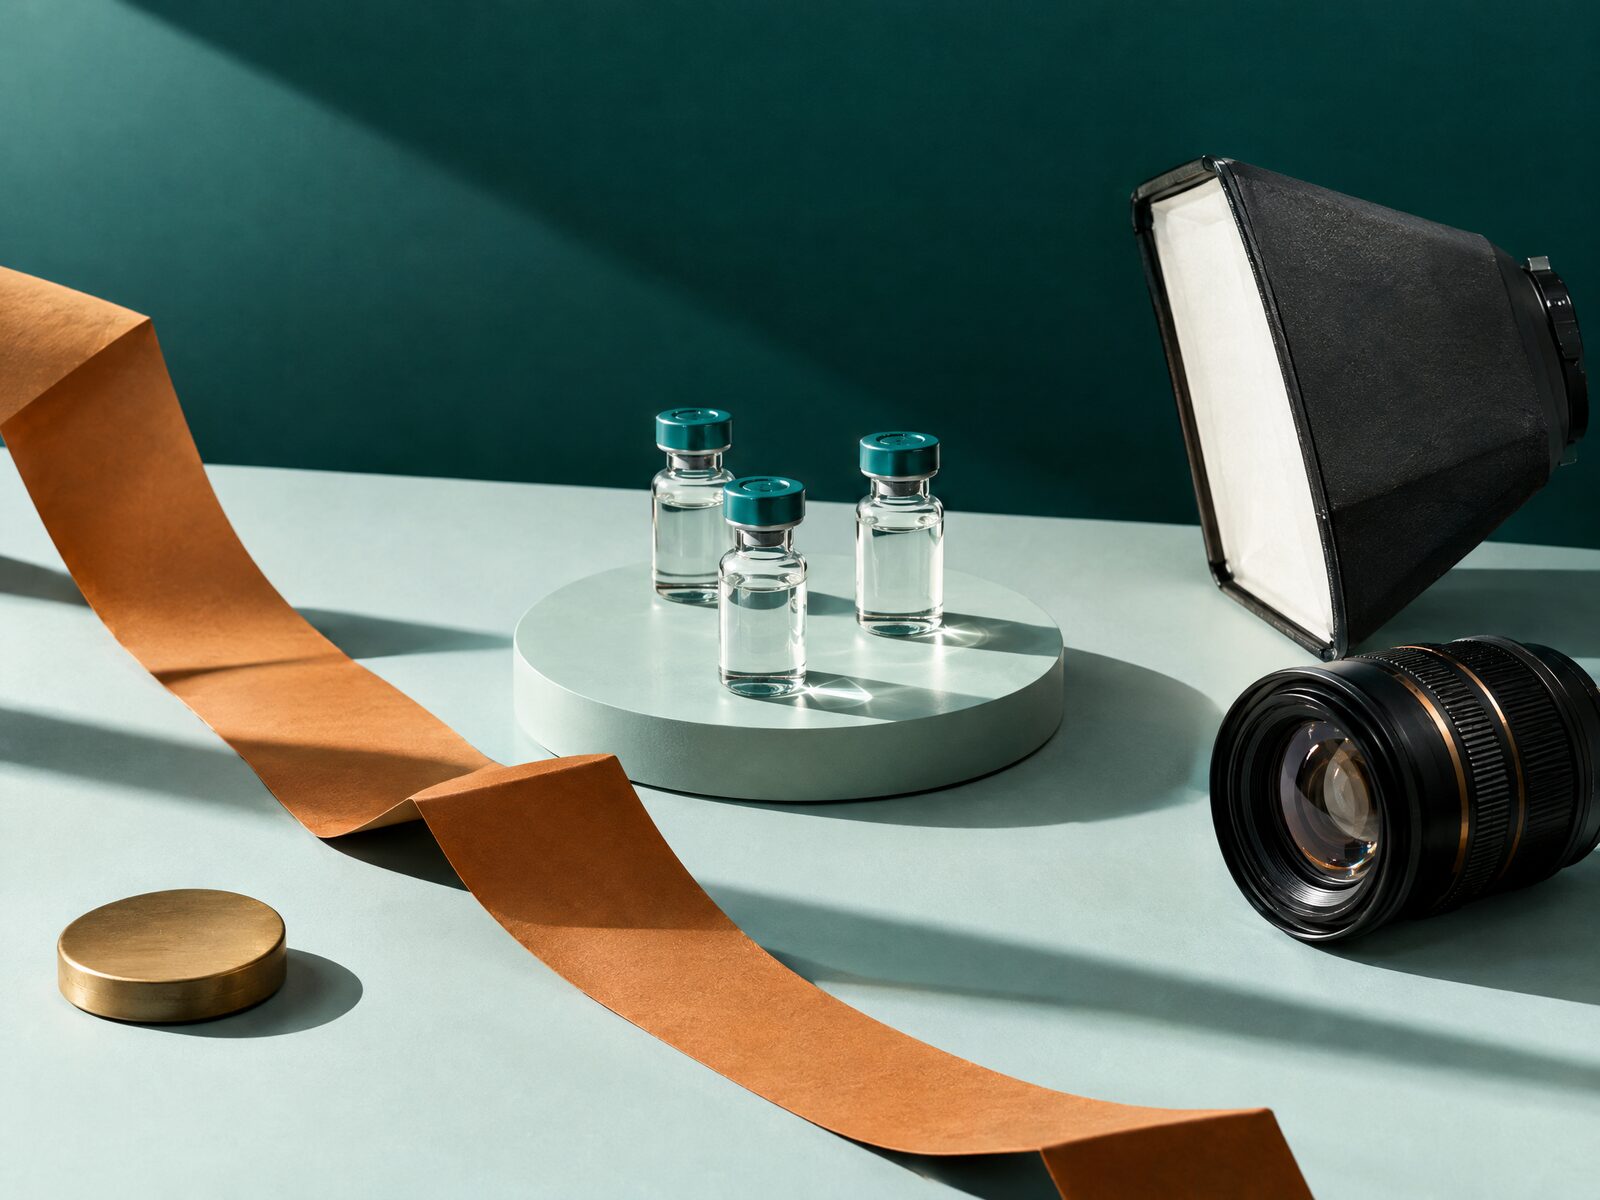
A peptide vial mockup is fine for getting a site built and a label approved. It’s not fine as the only image of a product you’re asking a processor to underwrite and a buyer to trust. We use both, in that order: renders while the labels are still changing, real photos the week stock arrives.
The mistake we see most often is the reverse. A store launches on the supplier’s stock render, the same image that’s on a dozen other sites, and never replaces it. The label in the picture doesn’t quite match the label in the box, and nobody notices until a customer does.
Here’s when mockups are the right tool, when they aren’t, how to keep them honest, and the specs and shot list we use for peptide product photography.
When a peptide vial mockup is the right call
Renders earn their place before you have finished product in hand:
- Pre-launch site builds. Developers and copywriters can’t wait six weeks for stock. A mockup with the real label artwork lets the product pages get built and tested.
- Label approval. Seeing the artwork wrapped around the actual vial shape catches problems a flat proof hides: the product name split across the curve, a QR code distorted at the edge, a lot box that ends up on the back. Our peptide vial label guide covers the sizing side of this.
- New SKUs announced before stock lands. Fine, as long as the render matches what will ship, and you replace it when the vials arrive.
- Banners, email headers and category tiles. Places where a clean, consistent render does a better job than a photo.
Ads creative is the other classic use, but for research peptides most paid channels are closed anyway, so it’s a smaller consideration than it would be for other brands.
When you need real peptide product photography
The moment you’re selling a product, the main image on its page should be a photo of that product. Three reasons:
Underwriting. Processors and their reviewers look at your product pages. A catalog of generic renders, identical to other stores’, reads like a reseller with no inventory. Photos of your actual vials and boxes, with your labels and a visible lot area, show that the business holds real stock and knows what it ships. That won’t get a research-use-only store approved on its own (nothing about imagery will), but generic renders give a reviewer one more reason to doubt you.
Trust. Buyers compare what arrives with what they saw. A different cap color, a different label layout or a different vial size makes them question everything else on your site, including your COAs.
Disputes. “Not as described” is a dispute reason you can avoid entirely by showing the thing you sell.
If you’re on a white label supply deal, this matters even more, because the supplier’s render is shared. We explain the wider trade-offs in white label vs private label peptides.
How to keep a peptide vial mockup honest
A mockup is honest when a buyer couldn’t tell from the product in their hand that it was a render. Our rules:
- Same vial. Same size, same proportions, same crimp and cap color as the vial that ships. A 10 mL template standing in for a 2 mL vial changes how big the product looks.
- The real print file. Use the exact artwork going to the printer, wrapped to the real dieline. Not a “close enough” earlier version.
- The real contents. If the product ships as a powder, don’t render a vial full of liquid.
- No badges that aren’t backed by a batch COA. No “99% pure” seals, “third-party tested” stamps or invented certification marks.
- No props that imply use. No syringes, needles, alcohol swabs or bacteriostatic water vials in the shot, and no gym, body or before-and-after imagery. FDA’s August 2026 warning letters to peptide sellers cited dosing guidance, reconstitution calculators and bacteriostatic water sold alongside, and a product photo staged with a syringe tells the same story in a picture.
- No AI-generated product images. Image generators garble small text and invent label details. On a product where the lot number and amount are the point, that’s disqualifying. We build mockups from smart-object templates or 3D files using the real artwork.
- Keep a register. A simple sheet listing which images on the site are renders, so you know exactly what to replace when stock arrives.
A word on styling. LegitScript’s peptides guide for payment processors lists lab-style branding with injectable vials and bodybuilding or tanning marketing among its red flags. You can’t photograph your way out of selling vials, and you shouldn’t try. Shoot the product plainly, without lab-coat props or lifestyle staging, and let the label and the COA do the talking. If you’re unsure whether specific imagery crosses a line, ask a lawyer who knows FDA and FTC rules.
Our setup for photographing glass vials
Glass on white is one of the harder things to shoot well. What works for us:
- A white sweep (a curved background with no visible horizon line), so the main image needs minimal retouching.
- Two strip softboxes, one each side, which put clean vertical highlights on the glass instead of messy reflections.
- Black cards just outside the frame to give the vial’s edges definition. Without them, a clear vial disappears into a white background.
- A polarizing filter to control glare on glossy labels.
- Tethered capture to a laptop, so we can check at 100% that the lot number and small type are sharp before moving on.
- Focus stacking for close-ups. A vial is curved and tiny; a single frame rarely gets the whole label sharp.
- Gloves and a lint-free cloth. Fingerprints and dust are very visible on glass at product-page zoom.
- Fixed camera height and distance for the whole range, so every vial appears at the same scale on category pages.
Can you do this with a phone and a lightbox? For a first pass, yes. The weak point is close-up legibility of the label, which is often the shot that matters most.
Image specs for peptide product pages
Platforms differ, so these are our house defaults rather than anyone’s official requirements:
| Spec | Our default | Why |
|---|---|---|
| Aspect ratio | 1:1 square | Product grids line up cleanly on Shopify and WooCommerce themes |
| Master file | 2048 x 2048 px | Room for zoom and future crops |
| Delivered file | WebP or JPEG, roughly 1200 to 1600 px, kept as light as quality allows | Page speed, especially on mobile |
| Background | Pure white (#FFFFFF) for the main image | Consistency, and it works anywhere |
| Product fill | Product takes up most of the frame, with even margins | Small vials vanish in oversized white space |
| Color profile | sRGB | Consistent color across browsers |
| File name | brand-product-10mg-vial-front.webp (lowercase, hyphens) | Readable to search engines and to you |
| Alt text | A literal description, e.g. “Glass vial with white and teal [Brand] label reading [Product] 10 mg, lot number visible” | Accessibility and image search, without claims |
Two rules on alt text: describe what’s in the picture, not what the product does, and never stuff it with keywords. The same goes for any text overlaid on images. If it would be a problem in your product copy, it’s a problem in a JPEG.
The shot list we use for each SKU
For every product, we shoot this set:
- Vial front, straight on. Label centered. This is the main product image.
- Vial at a three-quarter angle. Shows the cap, crimp and side of the label.
- Label back panel, close-up. Lot number, storage line, RUO statement and QR code all legible.
- Vial with its box, box front facing camera.
- Box side or back panel. The batch and storage information printed on the box.
- Vial beside a ruler. Gives buyers an honest sense of scale, which renders often distort.
- Vial beside the printed COA for the same lot, with lot numbers visible on both. This one dates when the lot changes, so use it on the COA page rather than the product page, and reshoot with each new batch.
- Range shot. All SKUs in one product family together, for category pages and banners.
Optional, if you have the time: a packaging shot showing how an order is packed for shipping. Buyers like seeing it, and it’s useful for your shipping policy page.
What we’d do before launch
Make the mockups from the final print files, use them to approve the labels, and build the site with them. Order a short run of labels and a few boxes early, so that real vials can be photographed the week stock lands. Keep the render register, and replace every product-page main image with a photo before you submit a processor application. The renders can stay on banners and email headers.
If you’d like the labels, boxes, mockups and product photography handled as one job, so the render, the print and the photo all match, that’s what our peptide label and packaging design service is built around.
FAQ
Can I use vial mockups on my product pages?
Before launch, or for a new SKU that isn’t in stock yet, yes, as long as the render uses the real vial, cap and print file. Once you’re selling the product, replace the main image with a real photo so what buyers see matches what arrives.
What background should peptide product photos have?
A pure white background for the main product image, shot on a white sweep with black cards at the edges so clear glass stays visible. Lifestyle or staged backgrounds add little and risk implying use.
What size should peptide product images be?
We shoot to a 2048 x 2048 px square master and deliver compressed WebP or JPEG files around 1200 to 1600 px for product pages. Check your theme’s recommendations, but square, consistent and light is a safe default.
Should I use my supplier’s product photos?
Only as a stopgap. Supplier renders are usually shared with other brands and may not match your label or packaging. Shoot your own vials and boxes as soon as you have stock.
